Crochet Heart Doll Amigurumi Pattern with Smiling Face
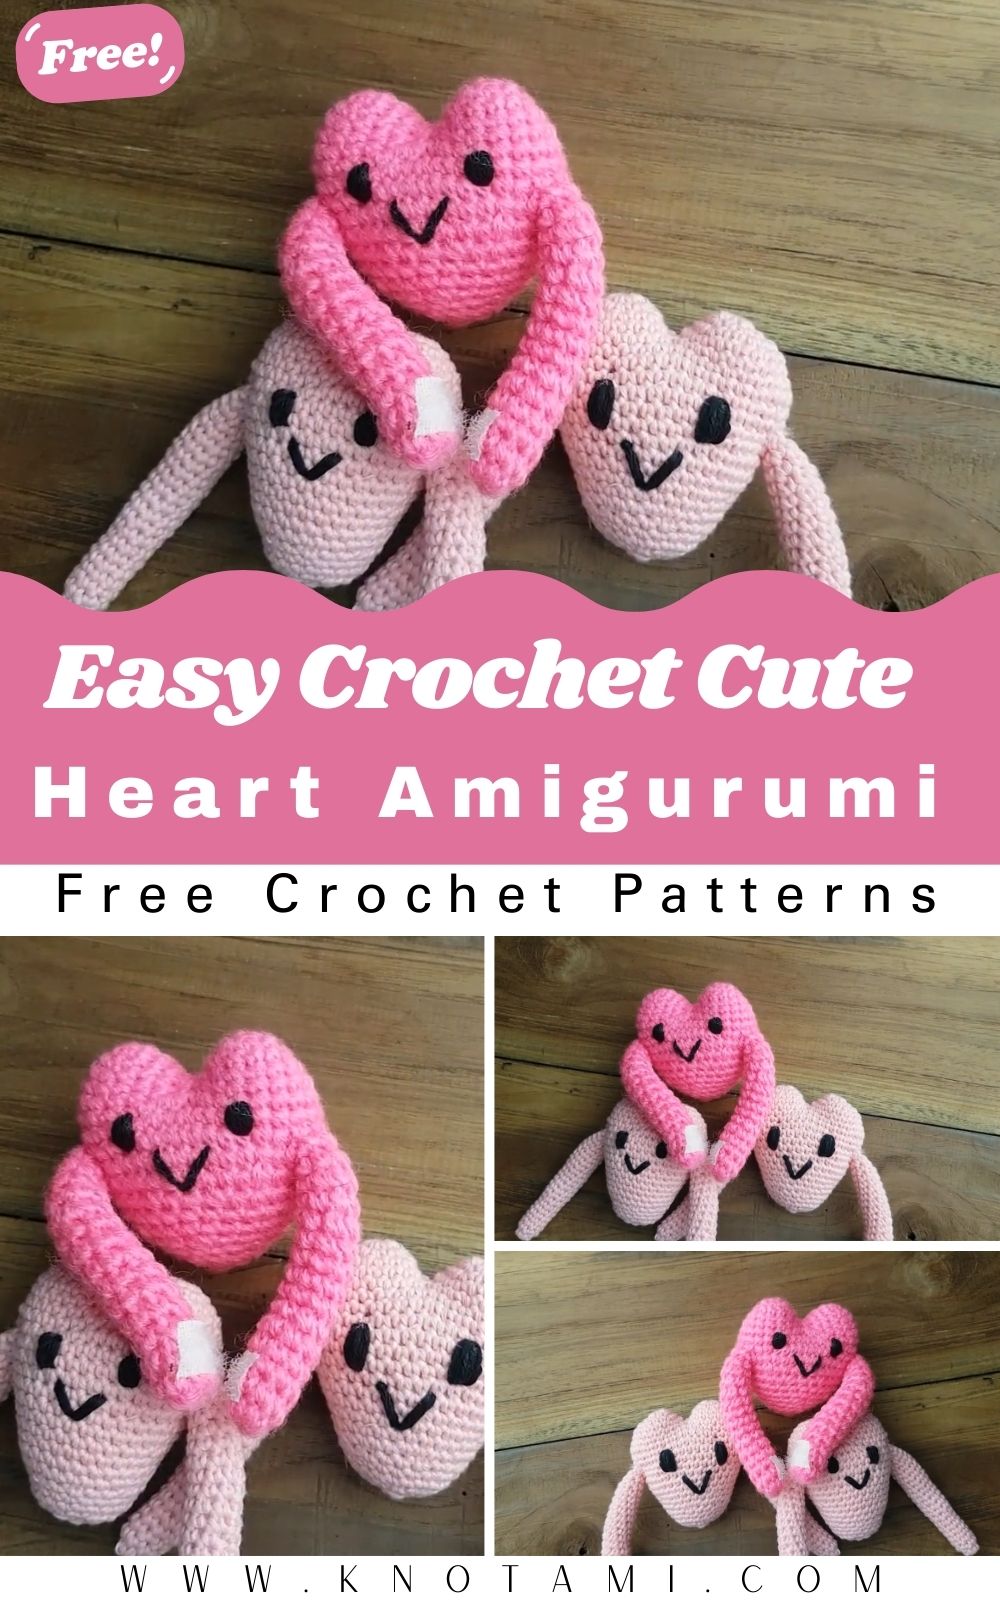
Two plump rounded lobes curve down into a soft point, and right in the middle sits a tiny stitched grin. That little smile gives the crochet heart doll amigurumi pattern with smiling face all its personality before it even leaves your hook.
Looking for a quick amigurumi gift? The heart works up in about two hours with basic stitches and turns into a huggable 3.5-inch keepsake. Every round is written out with its exact stitch count, from the two matching lobes to the final point. It’s perfect for Valentine’s Day, a nursery shelf, or a just-because present for someone who loves handmade things.
Crochet Heart Doll Overview
The finished doll is a rounded, slightly puffy heart. Two even lobes sit at the top, a soft point sits at the bottom, and a simple face with rosy cheeks makes it look friendly instead of flat or stiff. You’ll need to be comfortable with single crochet in continuous rounds, increases and decreases.
- Time: 10 minutes of prep, about 1.5 hours of stitching, and 20 to 30 minutes for stuffing, the face and finishing
- Construction: Two 18-stitch lobes are made first, joined into one 36-stitch round, then decreased down to the point. The face is added at the end.
- Finished size: About 3.5 in (9 cm) tall, 3.5 in (9 cm) wide and 2 in (5 cm) deep with worsted yarn and a 3.5 mm hook
Materials
- Main yarn: Smooth worsted weight (US #4) cotton or acrylic, about 20 g or 40 yd (37 m)
- Face: About 1 yd (1 m) of black or brown yarn or embroidery floss, plus 1 yd (1 m) of pink for the cheeks
- Hook: 3.5 mm (US E-4), smaller than the label suggests so the fabric is tight and the stuffing stays hidden
- Stuffing: About 10 g polyester fiberfill
- Notions: Stitch markers, tapestry needle, embroidery needle, small scissors, pins
- Optional: Two 8 mm safety eyes, and 6 in (15 cm) of ribbon or cord for a hanging loop
Have an extra 10 g of yarn on hand if you plan to add a hanging loop or make a matching pair.
Gauge
With the 3.5 mm hook, 5 sc and 5 rounds make a 1 in (2.5 cm) square worked in the round. Each finished lobe should measure about 1.25 in (3.2 cm) across. A slightly different gauge only changes the size, but even tension matters. A mix of loose and tight stitches leads to lopsided lobes and a wobbly point.
Abbreviations
- MR – magic ring
- sc – single crochet
- inc – increase (2 sc in the same stitch)
- dec – decrease (sc 2 together)
- st(s) – stitch(es)
- Rnd – round; the number in brackets is the stitch count at the end of the round
Before You Start
Work in continuous rounds without joining or turning. Keep a stitch marker in the first stitch of every round and move it up as you go. Check your fabric every few rounds instead of waiting until the end; on a small piece, tension changes are easy to spot early.
Keep a second marker ready for Rnd 7. It marks the front center of the heart, where the face will go.
Step-by-Step Heart Doll Pattern
Step 1: Make the First Lobe
- Rnd 1: 6 sc in MR (6)
- Rnd 2: inc in each st around (12)
- Rnd 3: (sc, inc) x 6 (18)
- Rnds 4–6: sc around (18), 3 rounds total
Sl st into the next stitch and fasten off with a short tail. The lobe is now a small rounded cup about 1 in (2.5 cm) deep.
Step 2: Make the Second Lobe to Match
Repeat Rnds 1 to 6 exactly, for 18 stitches. Don’t fasten off. Keep the loop on your hook, because you’ll use it to join the two pieces.
Size check: Hold the two lobes side by side. Both should have 18 stitches and stand the same height. If they don’t, fix the smaller one now.
Step 3: Join Both Lobes Into One Round
- Rnd 7: With the second lobe still on your hook, sc into any stitch of the first lobe. Place your round marker in that sc. Work 17 more sc around the first lobe (18 total). Then continue straight onto the second lobe, starting in the stitch right after your hook, and work 18 sc around it (36).
The heart shape first appears on Rnd 7. The spot where you crossed from the first lobe to the second is the front center of the heart, so clip your second marker there. Recount: 18 stitches per lobe, 36 in total.
Step 4: Shape the Dip Between the Lobes
- Rnd 8: (16 sc, dec) x 2 (34)
- Rnd 9: sc around (34)
- Rnd 10: (15 sc, dec) x 2 (32)
Starting from the round marker, the two decreases in Rnds 8 and 10 land right where the lobes meet, front and back. Keeping them there gives a shallow, soft dip instead of two separate bumps. Use the first lobe’s yarn tail to close any small gap left at the join.
Pro tip: Lay the piece flat after Rnd 10. If one lobe looks wider or taller, fix it now, because it’s much harder to correct once more rounds are added.
Step 5: Decrease Toward the Point
- Rnd 11: (6 sc, dec) x 4 (28)
- Rnd 12: sc around (28)
- Rnd 13: (5 sc, dec) x 4 (24)
- Rnd 14: sc around (24)
Spacing the decreases evenly narrows the heart gradually and keeps the point centered. If they bunch up on one side, the tip will lean.
Step 6: Add Safety Eyes (If Using) and Stuff
If you’re using safety eyes, insert them now, while the opening is still wide. Place them between Rnds 9 and 10, 3 stitches to either side of the front-center marker, so they sit 6 stitches apart. Fasten the backs from inside.
Start stuffing in small pinches. Fill both lobes first so the top stays plump, then keep adding as the opening gets smaller.
Step 7: Close the Bottom Point
- Rnd 15: (4 sc, dec) x 4 (20)
- Rnd 16: (3 sc, dec) x 4 (16)
- Rnd 17: (2 sc, dec) x 4 (12). Top up the stuffing.
- Rnd 18: (sc, dec) x 4 (8)
- Rnd 19: dec x 4 (4)
Add a final wisp of stuffing, but don’t overstuff the point or it will lose its shape. Fasten off, weave the tail through the front loops of the last 4 stitches and pull the hole closed. Pull the tail through the tip so the point sits centered, then weave the end inside.
Step 8: Stitch the Smiling Face
Mark the face with pins before stitching anything, using the front-center marker as your guide.
- Eyes: If you skipped the safety eyes, embroider two small ovals with dark yarn between Rnds 9 and 10, 6 stitches apart.
- Smile: Stitch a small curved line between Rnds 11 and 12, 2 stitches wide, centered under the eyes.
- Cheeks: Work 3 horizontal straight stitches in pink between Rnds 10 and 11, one stitch outside each eye.
Before you finish, hold the doll at arm’s length. A smile that looks centered up close can look crooked from a distance, so trust the wider view.
Step 9: Finish and Shape
Weave every loose tail through the inside of the doll. Then gently press along both lobes and the point to smooth out any lumps in the stuffing. The finished heart should measure about 3.5 in (9 cm) both tall and wide.
Watch the Video Tutorial
Common Mistakes
- Lobes of different sizes because one ended up with 17 or 19 stitches instead of 18
- Overstuffing the point, which pulls it out of shape
- Adding safety eyes after Rnd 16, when the opening is too small to fasten the backs
- Stitching the face before checking its placement
Troubleshooting
- Holes between stitches: The hook is too big for your yarn. Go down to 3.0 mm and rework that section.
- Uneven top lobes: The lobes have different stitch counts. Compare them before joining and redo the smaller one.
- An off-center dip: The Rnd 8 and Rnd 10 decreases drifted away from the join points. Start both rounds exactly at the round marker.
- A leaning point: The decreases were grouped on one side. Keep to the even repeats in Rnds 11 to 19.
- Stuffing showing through: Your stitches are loose for the amount of stuffing. Use a smaller hook next time, and don’t overfill thin areas.
- A flat-looking heart: It needs more stuffing, or the stitches are too loose to hold the shape.
Adding a Hanging Loop
To hang your heart, fold a 6 in (15 cm) piece of ribbon or cord into a loop and sew its ends firmly into the dip between the lobes. Go through several times so it can hold the stuffed doll’s weight.
Color Ideas
For a classic look, use red or blush pink with a dark face and pink cheeks. For a nursery, try soft sage, buttery yellow or dusty lavender with a simple brown smile. Once you’re comfortable with the shape, make each lobe in a different shade and switch to one color at Rnd 7 for a fun two-tone heart.
Turn It Into a Heart Garland or Mobile
Once you’ve made one heart, a few more quickly become something bigger. Here are some easy ways to use a small batch.
- Valentine’s garland: Make five to seven hearts in reds and pinks. Sew each one to a long crochet chain or twine, spacing them about 6 in (15 cm) apart.
- Nursery mobile: Hang three to five pastel hearts at different lengths from an embroidery hoop. Keep it out of the baby’s reach.
- Mood hearts: Give each heart a different face, such as sleepy, winking or surprised, for a playful set.
- Mini hearts: Use fingering weight yarn and a 2.25 mm hook with the same rounds for 2 in (5 cm) hearts, great as gift toppers or bag charms.
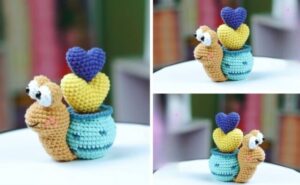
For more sweet amigurumi to gift alongside your heart, try the snail heart amigurumi or the crochet teddy bear. If you enjoy dolls with little faces, the onion doll amigurumi is another fun one.
Simple Ways to Wrap It as a Gift
- Kraft box nest: Tuck the heart into a small kraft box lined with shredded paper so only the smiling face peeks out.
- Tag tie-on: Loop twine through the hanging loop and add a handwritten tag with the recipient’s name.
- Clear pouch: Slip it into a clear cellophane bag tied with ribbon, so the doll is the wrapping.
- Card companion: Stitch a thread loop on the back and tie the heart to the ribbon of a greeting card.
Washing and Care
Hand wash gently in cool water when needed. Press out the water without wringing, reshape the heart while it’s damp, and let it air dry flat. Skip the dryer so the stuffing doesn’t shift.
FAQs
Can I use safety eyes instead of an embroidered face?
Yes, just add them before Rnd 15. For a gift to a baby or young child, embroidered eyes are the safer choice, since there are no small parts that could come loose.
Why does my heart look flat instead of plump?
It probably needs more stuffing, or the stitches are too loose to hold the shape. A smaller hook helps.
Can I make the doll bigger?
Yes. Bulky yarn with a 5.0 mm hook and the same rounds makes a heart about 5 in (12.5 cm) tall. For a bigger heart in worsted, add Rnd 4 as (2 sc, inc) x 6 (24) to each lobe. That changes all the later counts, so the rounds above work best as written.
What yarn gives the smoothest finish?
Cotton or soft acrylic gives clean, even stitches. Velvet yarn makes a plush, cuddly heart, but its stitches are harder to see, so it’s better once you know the pattern well.
Stitched With Love, Finished With a Smile
Nineteen rounds, a careful join and a tiny grin are all it takes to make someone’s day. The lobes and the face need the most care. After that, the rest moves quickly. Make one to give away and one to keep, because a little heart like yours is hard to part with.