Plushies Crochet Festive Tree Amigurumi Pattern for Holiday
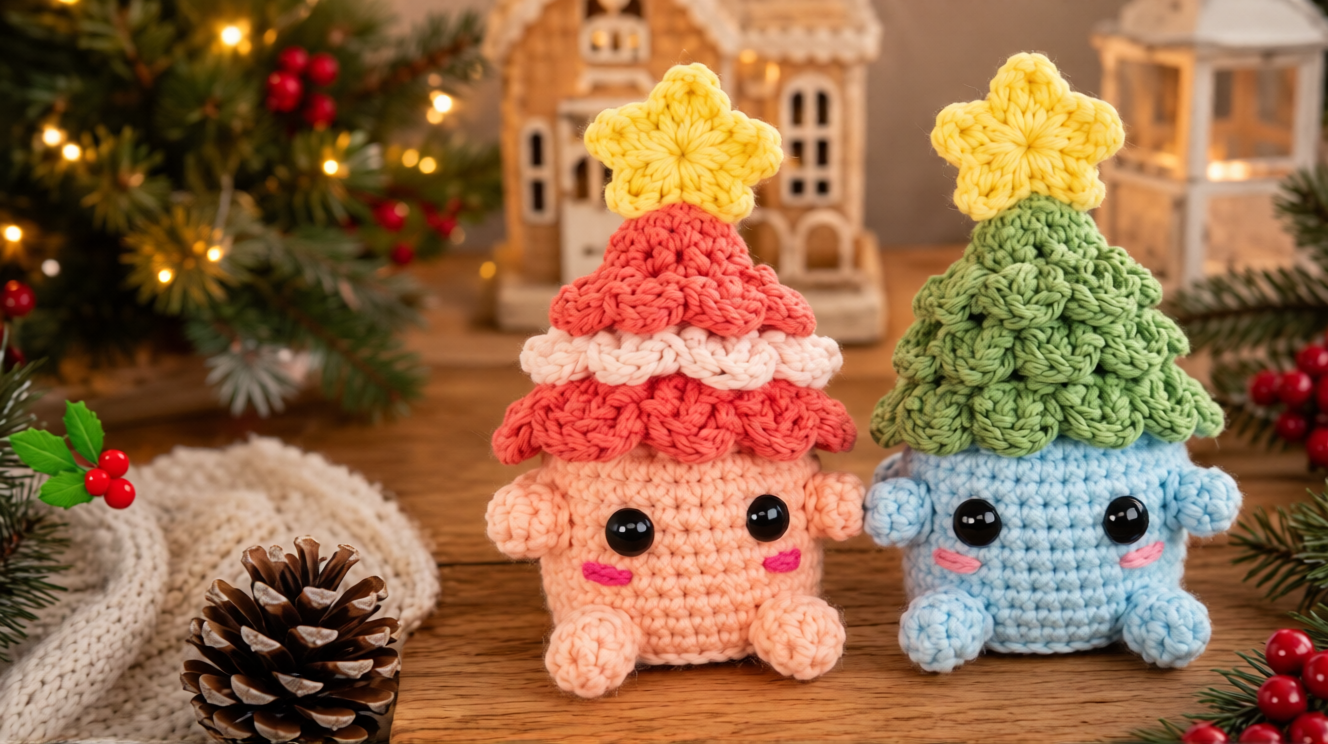
A pale blue pot with rosy cheeks wears a leafy green cap of scalloped tiers in this crochet festive tree amigurumi pattern in a smiling pot. The chunky little shelf buddy comes together from two stuffed pieces and a handful of easy stitches, ready for your holiday display.
A plain cylinder becomes a smiling planter, and a small cone on top turns into a ruffled pine. What makes the design special is how the branches form: every green tier grows from a front loop scallop round, so there are no separate branches to sew on. The rounds below walk you through the pot, the tree and a tidy assembly.
Pattern Overview
The pot and the tree are worked separately in continuous rounds, then sewn together. The pot has a flat base, straight walls and a closed top. The tree starts at its flat base and works upward, adding a scallop tier every few rounds. The finished plush is roughly 9 to 10 cm (about 4 inches) tall in worsted weight yarn with a 3 mm hook. Your tension may change that slightly.
- Skill level: Beginner-friendly
- Time: About 10 minutes of prep, 2 to 3 hours of stitching, and 30 to 40 minutes for the face, stuffing and assembly
Materials
- Worsted or DK acrylic yarn in light blue and leaf green
- A small amount of pink yarn for the blush
- 3 mm (C/2–D/3) crochet hook
- Two 8 mm safety eyes
- Polyester fiberfill
- Stitch markers, tapestry needle, pins and scissors
Yarn Choice
Smooth acrylic gives crisp V-shapes on the pot and bold texture on the scallops. Cotton makes an even firmer finish but can be tough on the hands during tight rounds. Skip fuzzy or bouclé yarn, since it hides the scallop edges.
Hook Size and Gauge
Go down one or two hook sizes from the size on your yarn label. The fabric should be dense enough that no stuffing shows when you squeeze it. Exact gauge doesn’t matter for a plush, but keep the same tension for both pieces so the tree sits neatly on the pot.
Stuffing and Safety
Safety eyes can come loose with enough force, so embroider the eyes with black yarn for babies or toddlers. Stuff the pot firmly so it stands on its own, and fill the tree just enough to hold its cone shape.
Abbreviations (US Terms)
- MR: magic ring
- sc: single crochet
- inc: 2 sc in one stitch
- dec: invisible decrease
- dc: double crochet
- sl st: slip stitch
- sk: skip
- BLO / FLO: back loop only / front loop only
- Scallop repeat: (sl st, sk 1, 5 dc in next st, sk 1), which uses 4 stitches
Before You Start
Place your marker in the first stitch of every round and move it up as you go. The tree tiers depend on which loops stay free, so work the scallop rounds where you can see the back loops clearly.
Part 1: The Blue Pot
Step 1: Start the Base
With blue yarn:
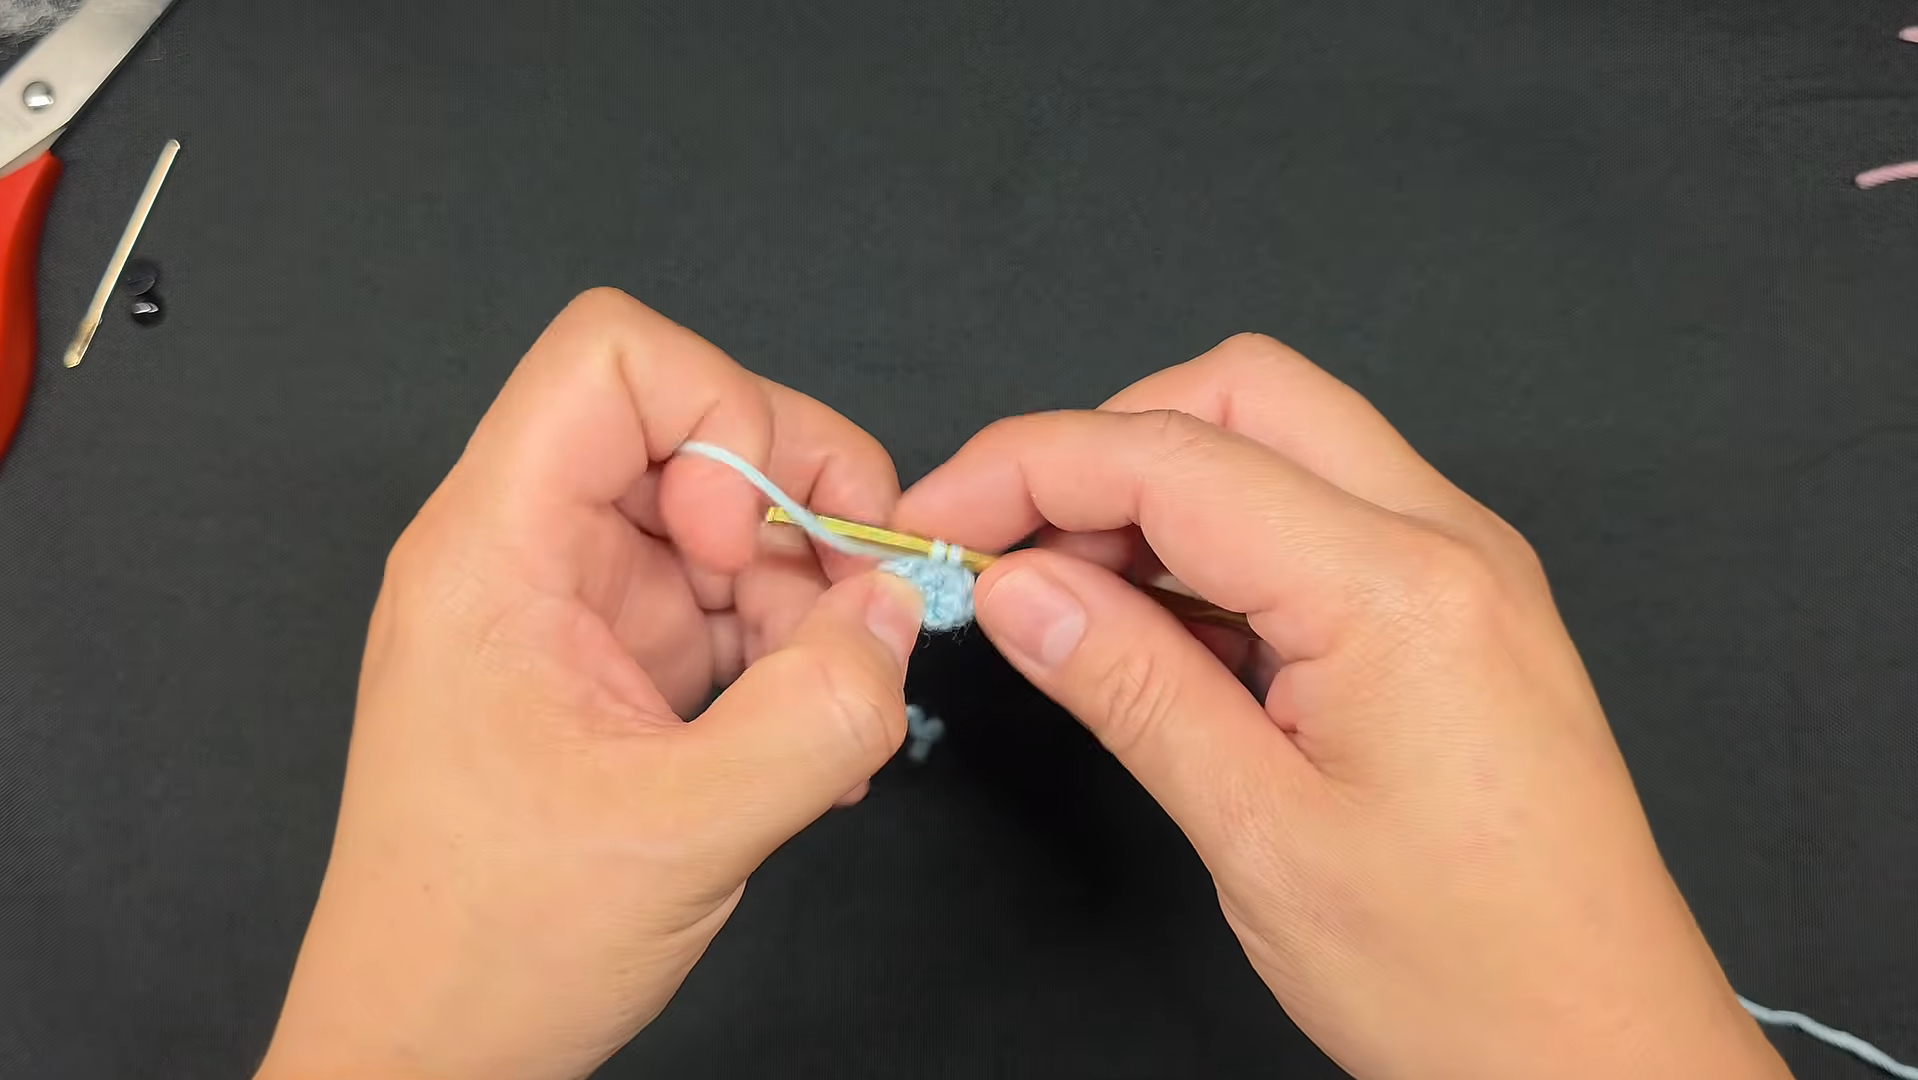
- R1: 6 sc in MR (6)
- R2: inc x6 (12)
Pull the ring closed tightly so no hole shows in the center.
Step 2: Finish the Flat Circle
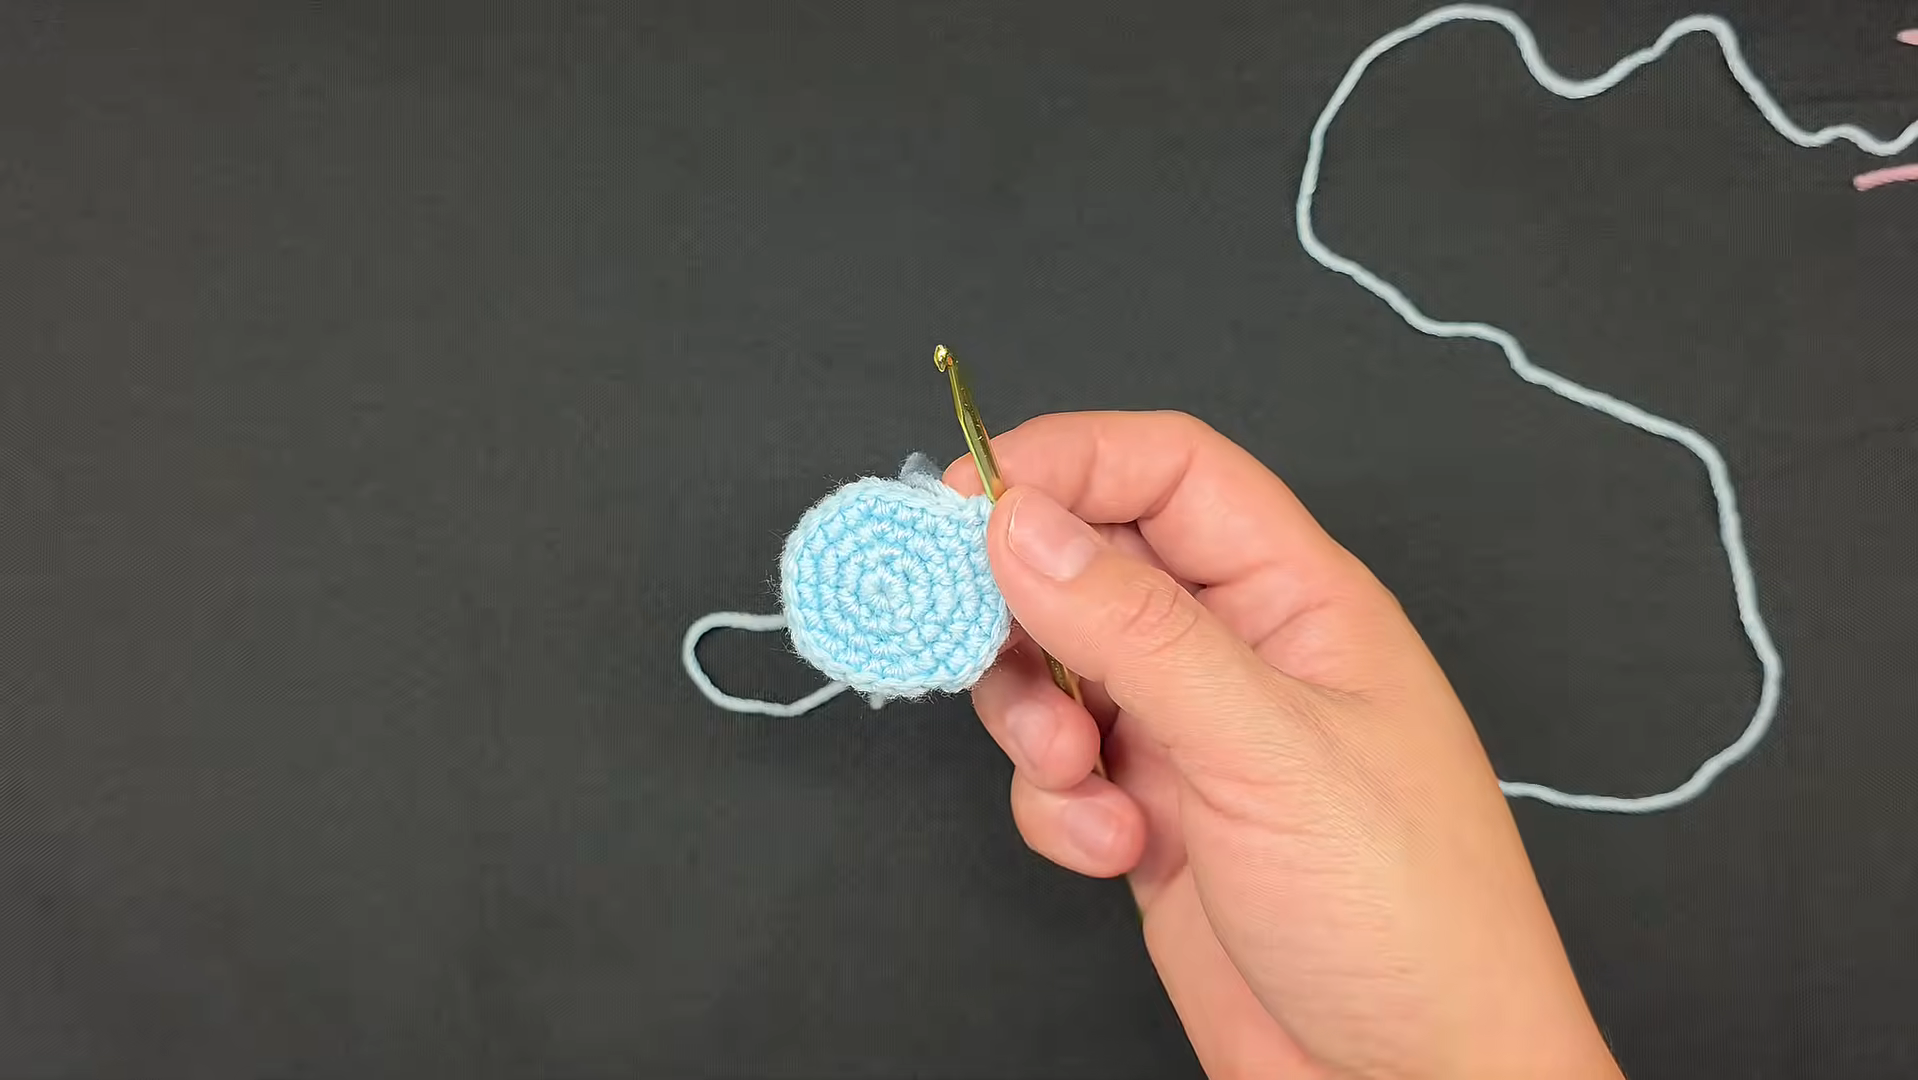
- R3: (sc, inc) x6 (18)
- R4: (2 sc, inc) x6 (24)
- R5: (3 sc, inc) x6 (30)
- R6: (4 sc, inc) x6 (36)
Flat check: The circle should lie completely flat. If it ruffles or cups, recount before moving on.
Step 3: Build the Walls
- R7: sc in BLO around (36)
- R8–R18: sc around (36), 11 rounds
Tip: The back loop round in R7 folds the fabric at a sharp right angle. That fold gives the pot its flat bottom, so it stands without tipping.

Step 4: Add the Face
Insert the safety eyes between R12 and R13, about 6 stitches apart, and lock the washers from inside. Then embroider two or three short horizontal pink stitches just below and outside each eye for the blush, hiding the yarn ends inside the open pot. The face goes on now because you can still reach inside.

Step 5: Close the Top
- R19: sc in BLO around (36)
- R20: (4 sc, dec) x6 (30)
- R21: (3 sc, dec) x6 (24)
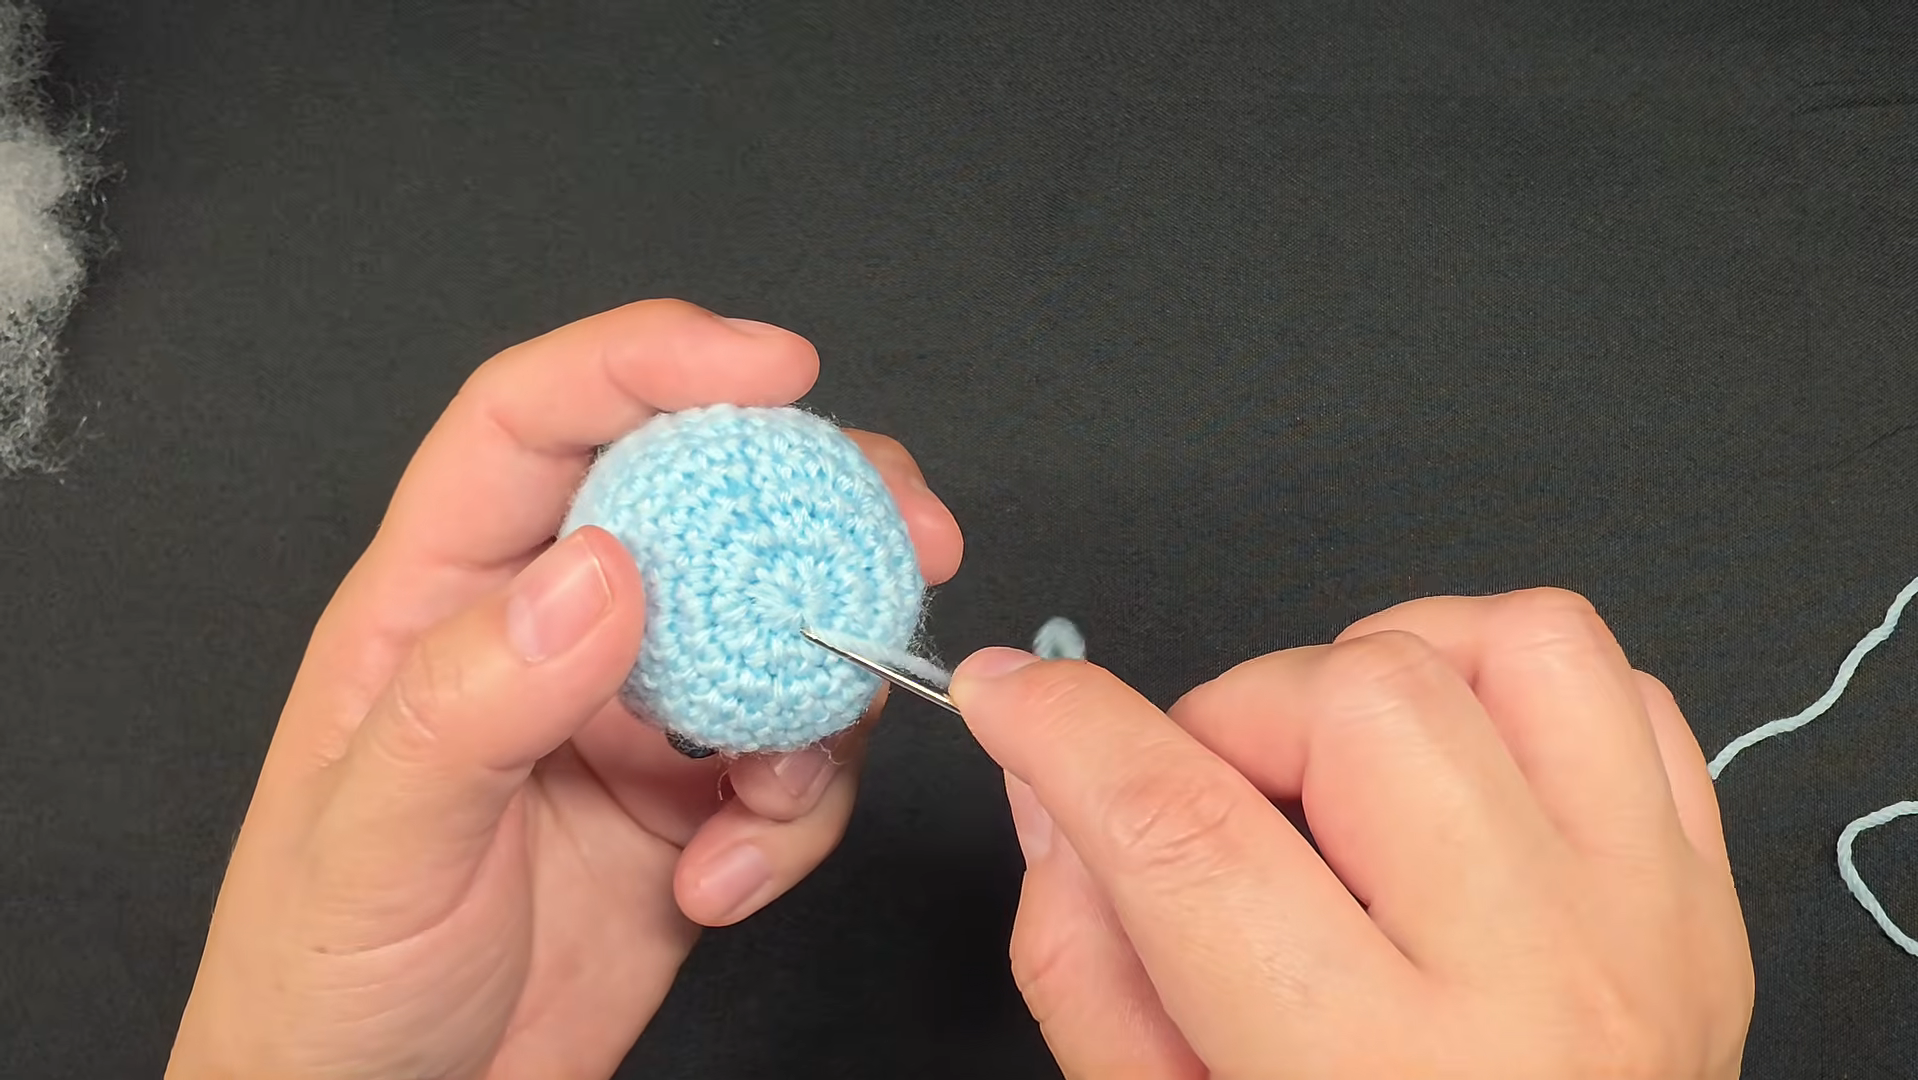
Stuff firmly now, pressing the fiberfill into the edges so the walls stay straight.
- R22: (2 sc, dec) x6 (18)
- R23: (sc, dec) x6 (12)
- R24: dec x6 (6)
Fasten off. Weave the tail through the front loops of the last 6 stitches, pull tight, and hide the end inside.
Part 2: The Green Tree
Step 6: Tree Base and First Tier
With green yarn:
- R1: 6 sc in MR (6)
- R2: inc x6 (12)
- R3: (sc, inc) x6 (18)
- R4: (2 sc, inc) x6 (24)
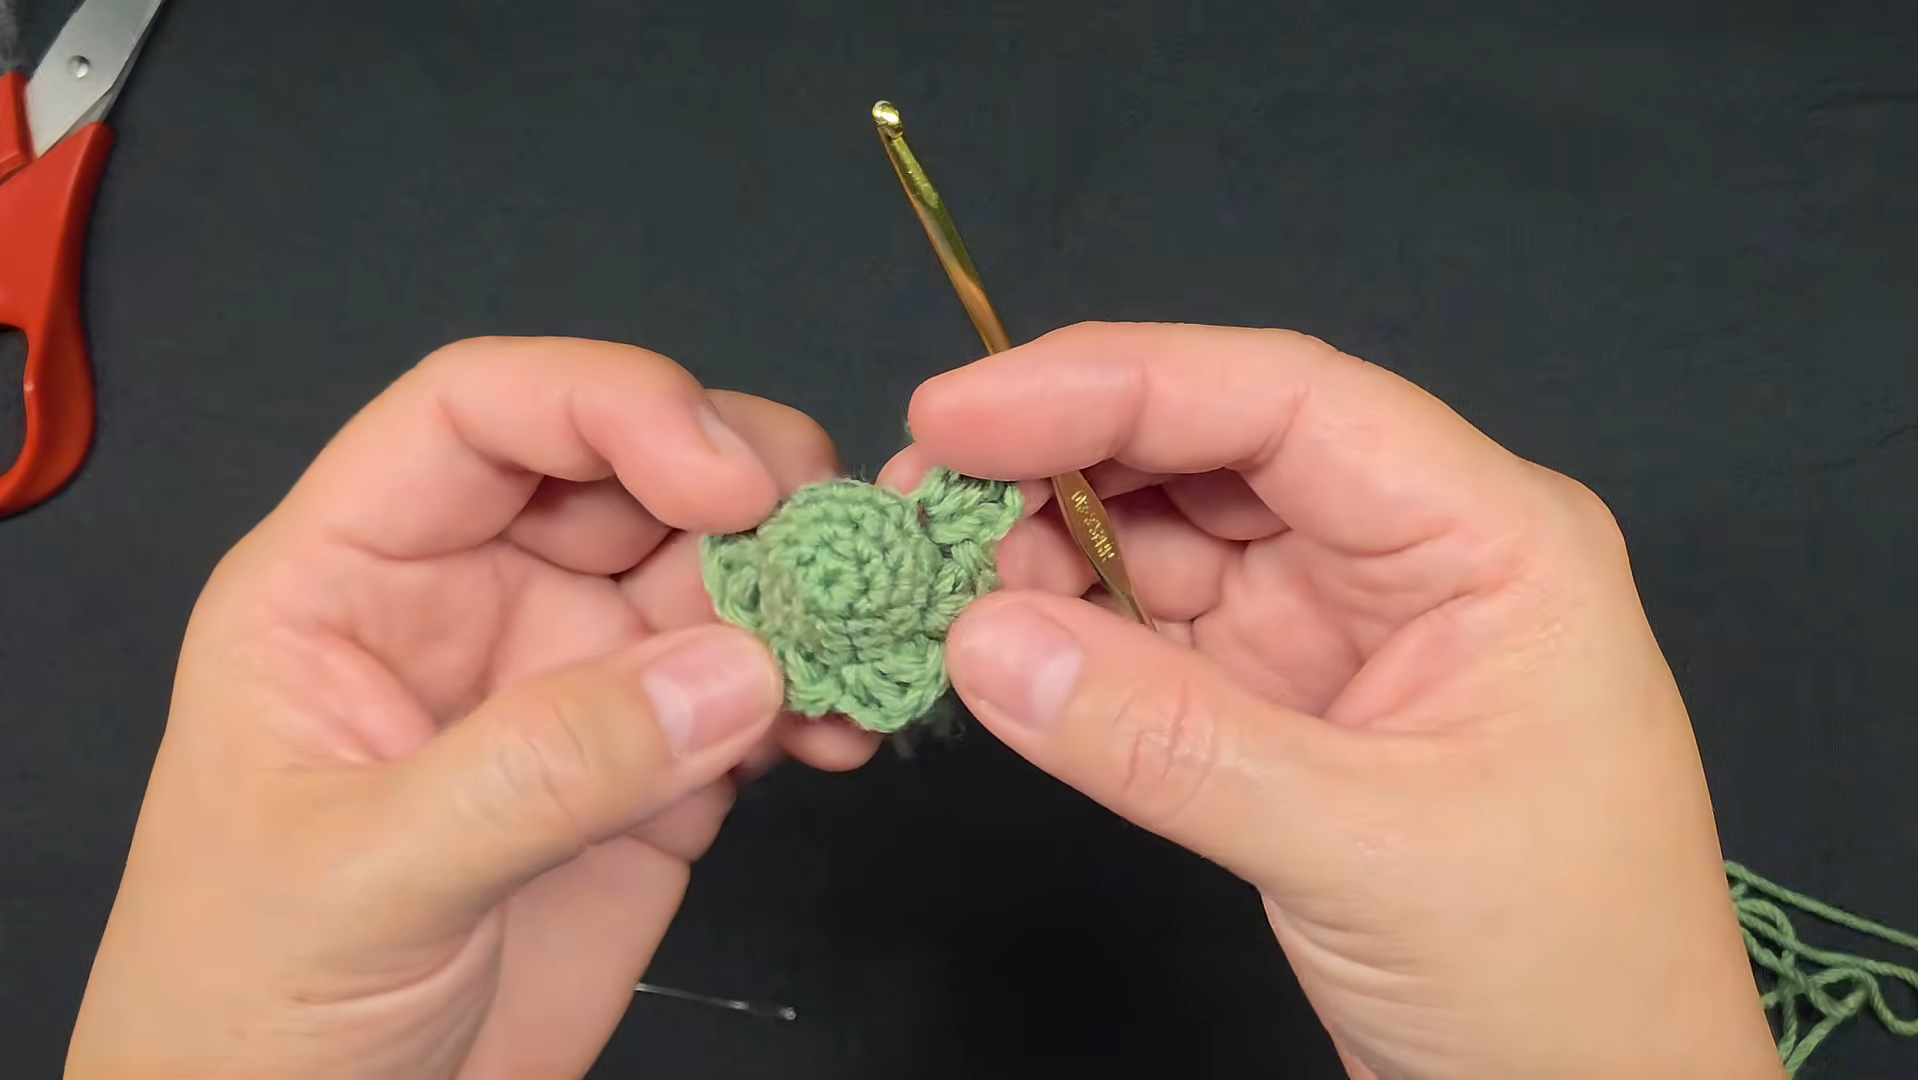
- R5 (tier 1, FLO of R4): scallop repeat x6 (6 scallops)
Step 7: Build the Cone
- R6: sc in the unused back loops of R4 (24)
- R7: (4 sc, dec) x4 (20)
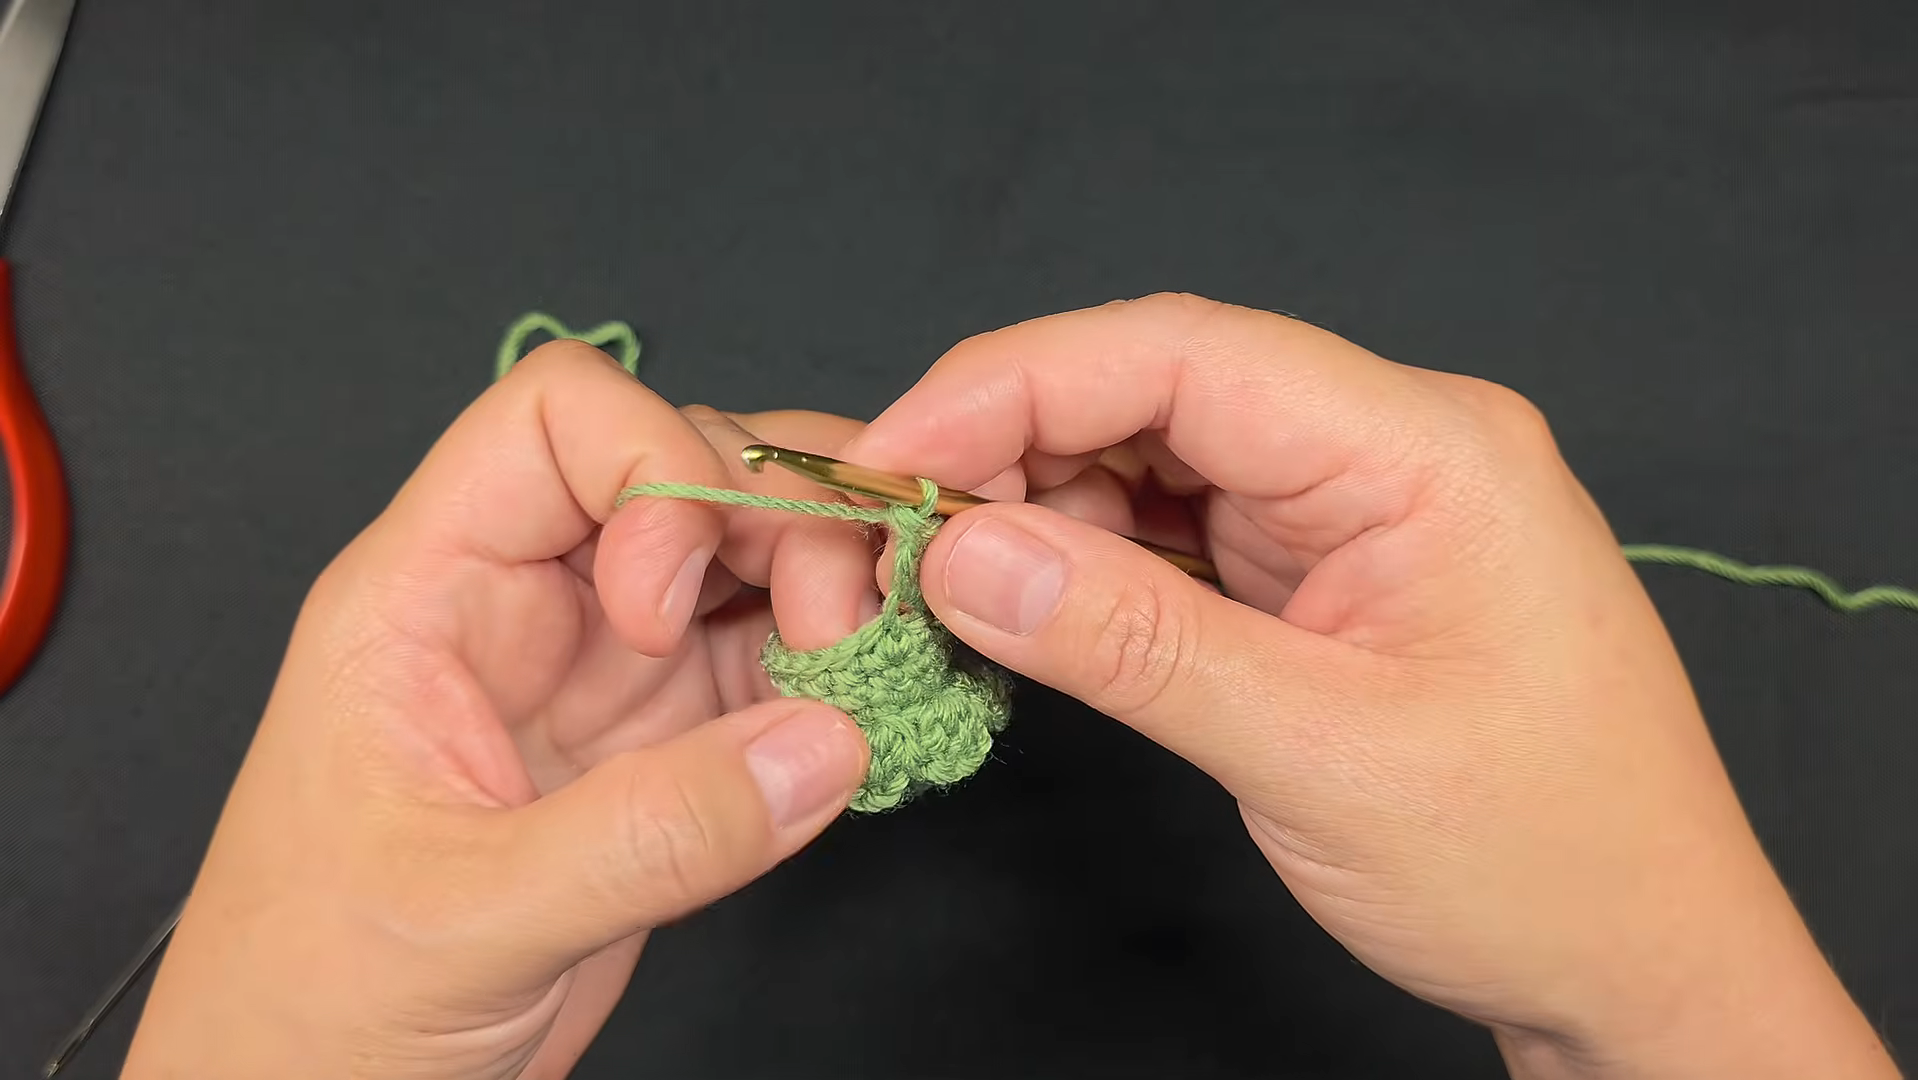
- R8 (tier 2, FLO of R7): scallop repeat x5 (5 scallops)
- R9: sc in the back loops of R7 (20)
- R10: (3 sc, dec) x4 (16)
- R11 (tier 3, FLO of R10): scallop repeat x4 (4 scallops)
- R12: sc in the back loops of R10 (16)
- R13: (2 sc, dec) x4 (12)
- R14 (tier 4, FLO of R13): scallop repeat x3 (3 scallops)
- R15: sc in the back loops of R13 (12)
Stuff lightly through the top opening.
- R16: dec x6 (6)
Fasten off and close the top the same way as the pot.
Tip: Before every scallop round, check that your stitch count divides evenly by 4. Each scallop repeat uses 4 stitches, so an extra or missing stitch leaves the last scallop lopsided.
Keeping the Tiers Evenly Stacked
Spiral rounds drift a little each round, and after four tiers they can look twisted. After each scallop round, put a second marker in the first scallop. When you start the next tier, begin your scallops about one stitch before that marker. The small shift keeps each tier right above the one below it, so the tree looks stacked instead of swirled.
Part 3: Assembly
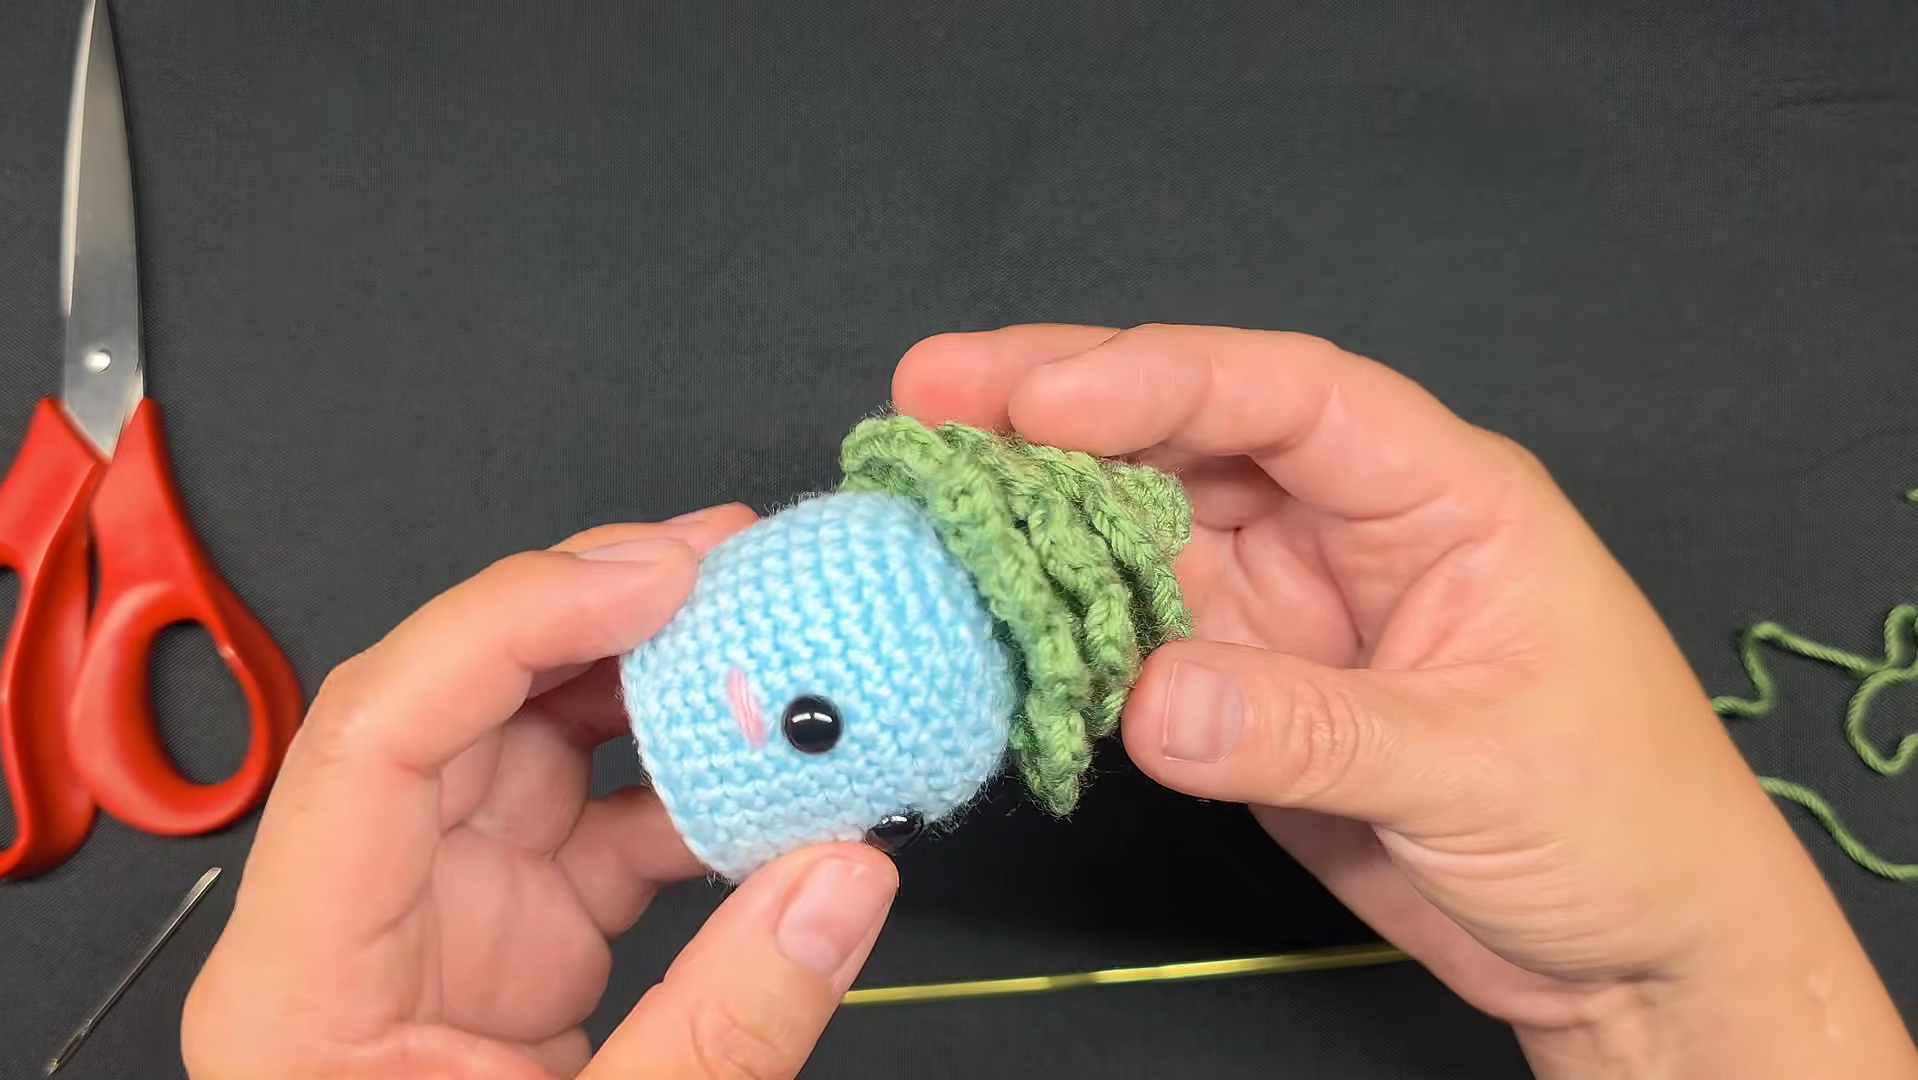
The tree base (24 stitches) matches the size of R21 on the pot top, which makes a neat guide line.
- Center the tree base on the pot top and pin it at four points, like a compass.
- Lift the first tier of scallops out of the way.
- With green yarn, whipstitch the edge of the tree base (R4) to the stitches of R21 all the way around.
- Let the scallops drop back down and fan them out evenly.
Watch the Video Tutorial
Want to see the front loop scallops and the back loop rounds up close? The full walkthrough is below.
Stitch Count Checkpoints
Most count errors happen at R6 on the pot (36) and right after each tier, when you go back to the back loops. Count every round that follows a scallop round: 24, 20, 16 and 12.
Common Mistakes
- Working a tier in both loops: You lose the back loops needed for the next round.
- Placing the eyes too high: The tree covers part of the face.
- Stuffing the pot after R22: The opening gets too small to fill the edges evenly.
- Skipping the R7 back loop round: The pot comes out rounded instead of flat-bottomed.
Troubleshooting
- The tree leans to one side: Unpick a few stitches on the low side and resew them one stitch further in.
- The scallops curl under: Steam them lightly and let them dry pointing outward.
- The pot walls ripple: The side rounds are looser than the base. Go down a hook size for R8 to R18.
Size and Color Ideas
For a bigger plush, use chunky yarn with a 4.5 mm hook and 10 to 12 mm eyes. For an ornament, use sport weight yarn with a 2.25 mm hook and embroidered eyes. The stitch counts stay the same either way.
Try a terracotta pot with a sage tree, a cream pot with a frosty white-tipped tree, or a red pot with a deep forest-green tree for a classic holiday look.
Personalization Ideas
- Tiny star topper: Crochet a small five-point yellow star and stitch it to the tip of the tree.
- Garland stitches: Chain-stitch a spiral of contrast yarn around the tiers.
- Hanging loop: Sew a crochet chain loop to the tip so the tree can hang from a real branch.
- Name on the pot: Embroider a name or initial on the back of the pot.
Secret Santa and Desk Gift Ideas
This smiling little tree is just the right size for the small gifts that pile up in December. Here are a few ways to give it.
- Office Secret Santa: Pair it with a mug and a few cocoa packets for a cheerful desk gift.
- Teacher’s desk: Match the pot color to the school colors and add a tag with the class name.
- Coworker set: Make three in different pot colors so a whole team gets a matching set.
- Plant lover’s joke gift: Give it to a friend who struggles to keep real plants alive, with a tag saying “no watering needed.”
- Gift topper: Add the hanging loop and tie it onto a wrapped present instead of a bow.
For more festive makes, try the standing crochet Christmas tree amigurumi, the crochet Christmas tree keychain, or the crochet Christmas snowman. For another potted friend, see the crochet sloth planter pattern.
Finishing and Care
Hide every tail inside the body. Spot clean with mild soap and cool water, press out the moisture with a towel, and let the plush air dry upright.
FAQs
Can a beginner make the festive tree?
Yes. It uses only basic stitches, and the scallops are simply groups of double crochet.
How much yarn does it take?
A small amount of each color. A partial skein of worsted weight yarn is usually plenty for one plush.
Can I skip the safety eyes?
Yes. Embroidered eyes are the safer choice for young children.
Why use front loops for the tiers?
Front loops leave the back loops free, so the cone keeps growing underneath each tier without any sewing.

A Little Pine With a Big Smile
Count before each scallop round, stuff the pot firmly, and line the tree up with R21 when you sew, and your plush will stand straight with every tier fanned out. It’s the kind of decoration that makes people smile every time they walk past the shelf. Once the first one is done, a terracotta or red pot makes a lovely second.