Crochet Harbor Window Cuff Trim for Jeans
The Crochet Harbor Window Cuff Trim for Jeans turns plain denim hems into something lacy, thanks to a narrow lilac mesh band finished with a row of tiny fans. Here is how it comes together, from the first chain to the scalloped edge.
This pattern starts as a long foundation chain, grows into an open mesh band, and ends with a fan-shaped scalloped edge. Because it is written for fine yarn and a 3.5 mm hook, you stitch it onto the denim afterward. Below, you’ll find chain length, stitch checks, and sewing tips.

Crochet Harbor Window Cuff Trim for Jeans: Pattern Overview
The cuff is worked in three parts. First, a long chain sets the length. Then several rows of open mesh build the depth, and finally one row of fans forms the wavy top. Since you sew the band onto fabric after finishing it, you can use it to trim jeans, sleeves, skirts, or curtains. For more projects like this, browse our free crochet patterns.
Skill level: Easy. However, you do need to know how to chain, double crochet, single crochet, and turn at the end of a row.
Materials for the Crochet Harbor Window Cuff Trim for Jeans
- Super fine (weight 1) cotton yarn or crochet thread, about 27–32 stitches per 4 inches
- E/4 (3.5 mm) crochet hook
- Stitch markers or scrap yarn
- Tapestry needle
- Sewing needle and thread to match the yarn
- Pins and a tape measure
- Jeans or other fabric to trim
Yarn Selection
Smooth cotton shows the mesh holes and fan shapes clearly, and it holds up well to washing. In contrast, fuzzy or brushed yarns blur the openings. If you want the lace to stand out, pick a color that contrasts with the denim. Otherwise, a close shade gives a quieter texture. Also, wash a small swatch first if you’ll launder the jeans often.
Hook Size and Gauge
Use a 3.5 mm hook with super fine yarn. Because the band is fitted to your hem, gauge is flexible. Still, the mesh should feel soft and drape easily. If the holes look pinched, go up a hook size. On the other hand, if the band feels floppy and the holes sag, go down.
Abbreviations and Key Stitches
Abbreviations (US terms): ch = chain, sl st = slip stitch, sc = single crochet, dc = double crochet, sp = space.
The mesh uses double crochet with a single chain between stitches. Meanwhile, the edge uses a five-double-crochet fan worked into one stitch, alternating with single crochet. Both are basic stitches, but even tension makes them look polished.
Before You Start
First, measure around the hem or cuff edge where the trim will sit. Then lay your foundation chain next to the tape as you work, so the length is right before you begin row 1. Plan an afternoon for a trial swatch and the full band. After that, sewing it onto the jeans is a separate, quieter session.
Crochet Harbor Window Cuff Trim for Jeans Instructions
Foundation Chain for the Crochet Harbor Window Cuff Trim for Jeans
First, make a slip knot and place it on the hook. Hold the hook in your right hand and let the yarn run over your left index finger, with the tail trailing to the left. Then begin chaining with relaxed, even loops.

Next, chain until the length matches your hem measurement. Make sure the number of chains is a multiple of 4, plus 3. Before moving on, lay the chain flat and check that the V-shapes all face the same way, because a twist here carries into every row.
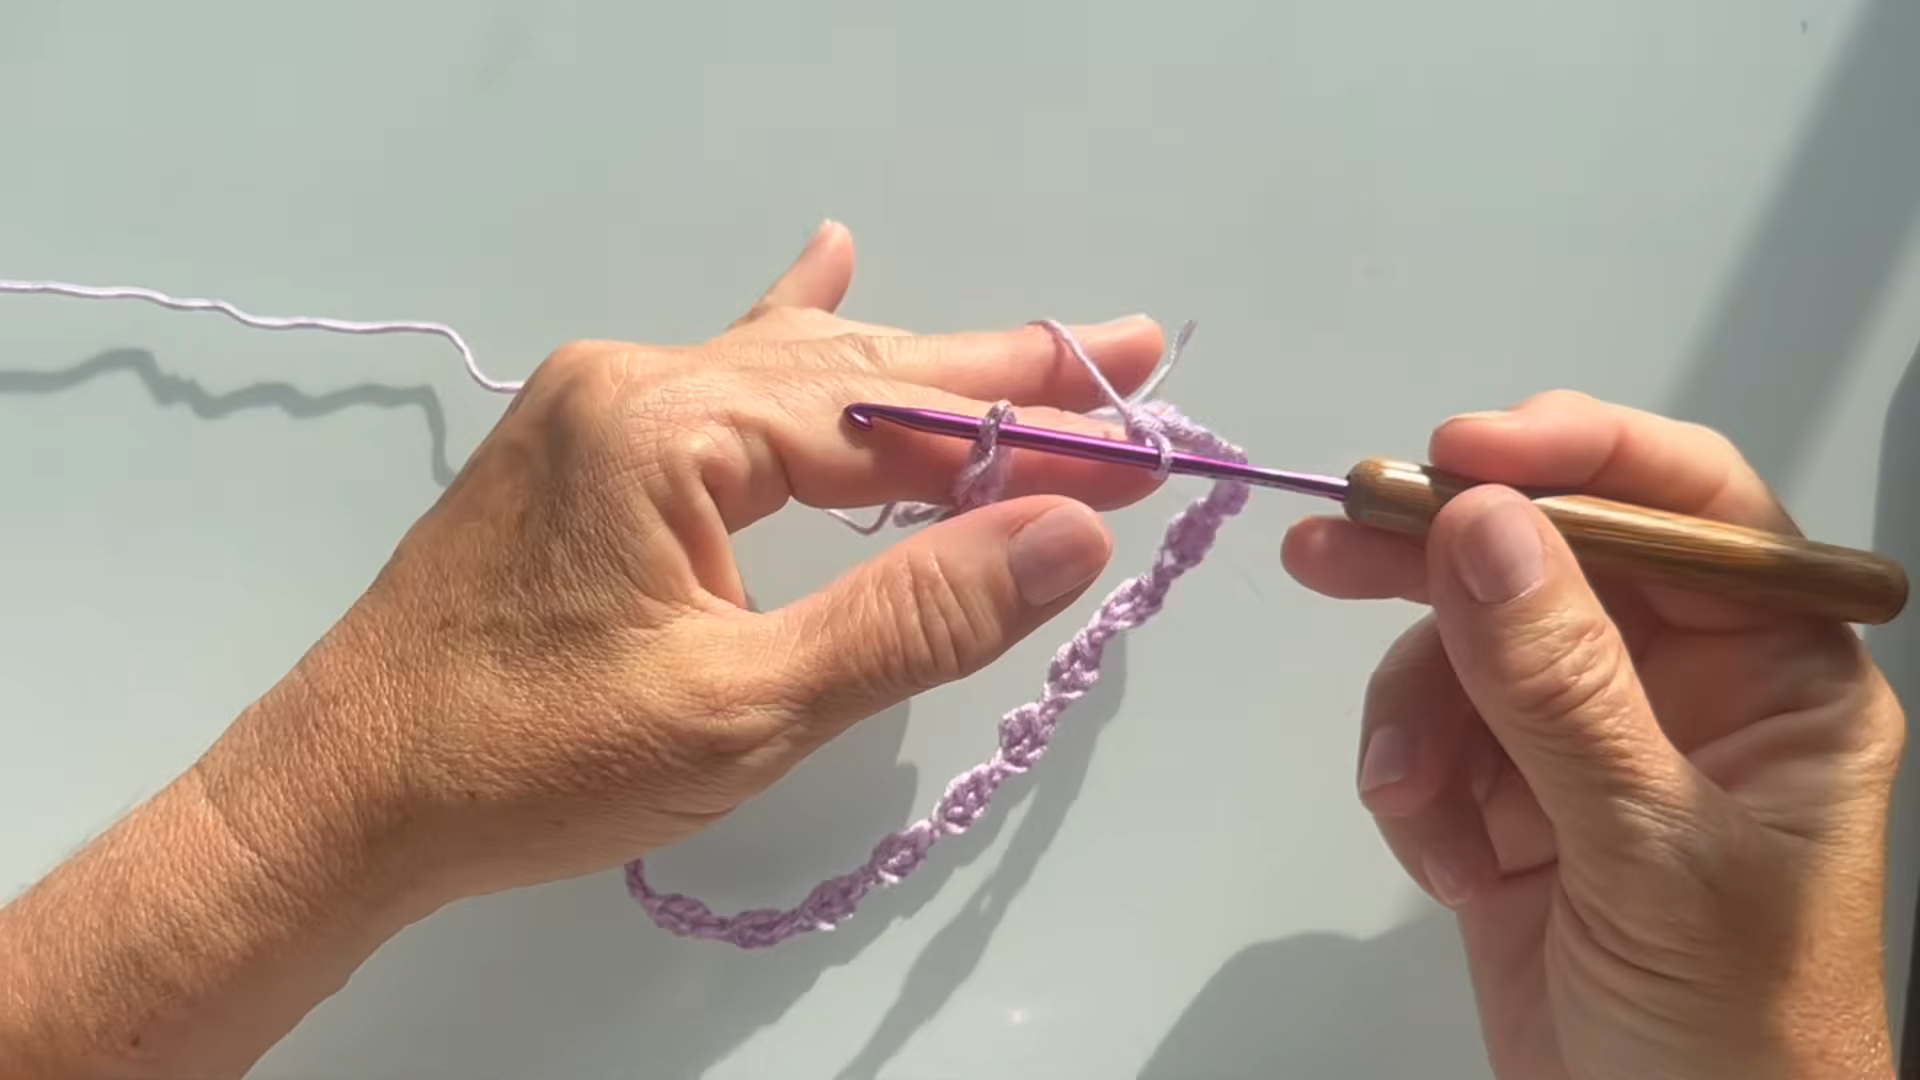
Row 1: Set Up the Mesh
Wrap the yarn over the hook and work back along the chain. First, dc in the 5th chain from the hook. Then ch 1, skip 1 chain, and dc in the next chain. Repeat to the end, and finish with a dc in the last chain. Afterward, count your double crochets, and treat the first 3 skipped chains as one dc. The total should be an odd number.
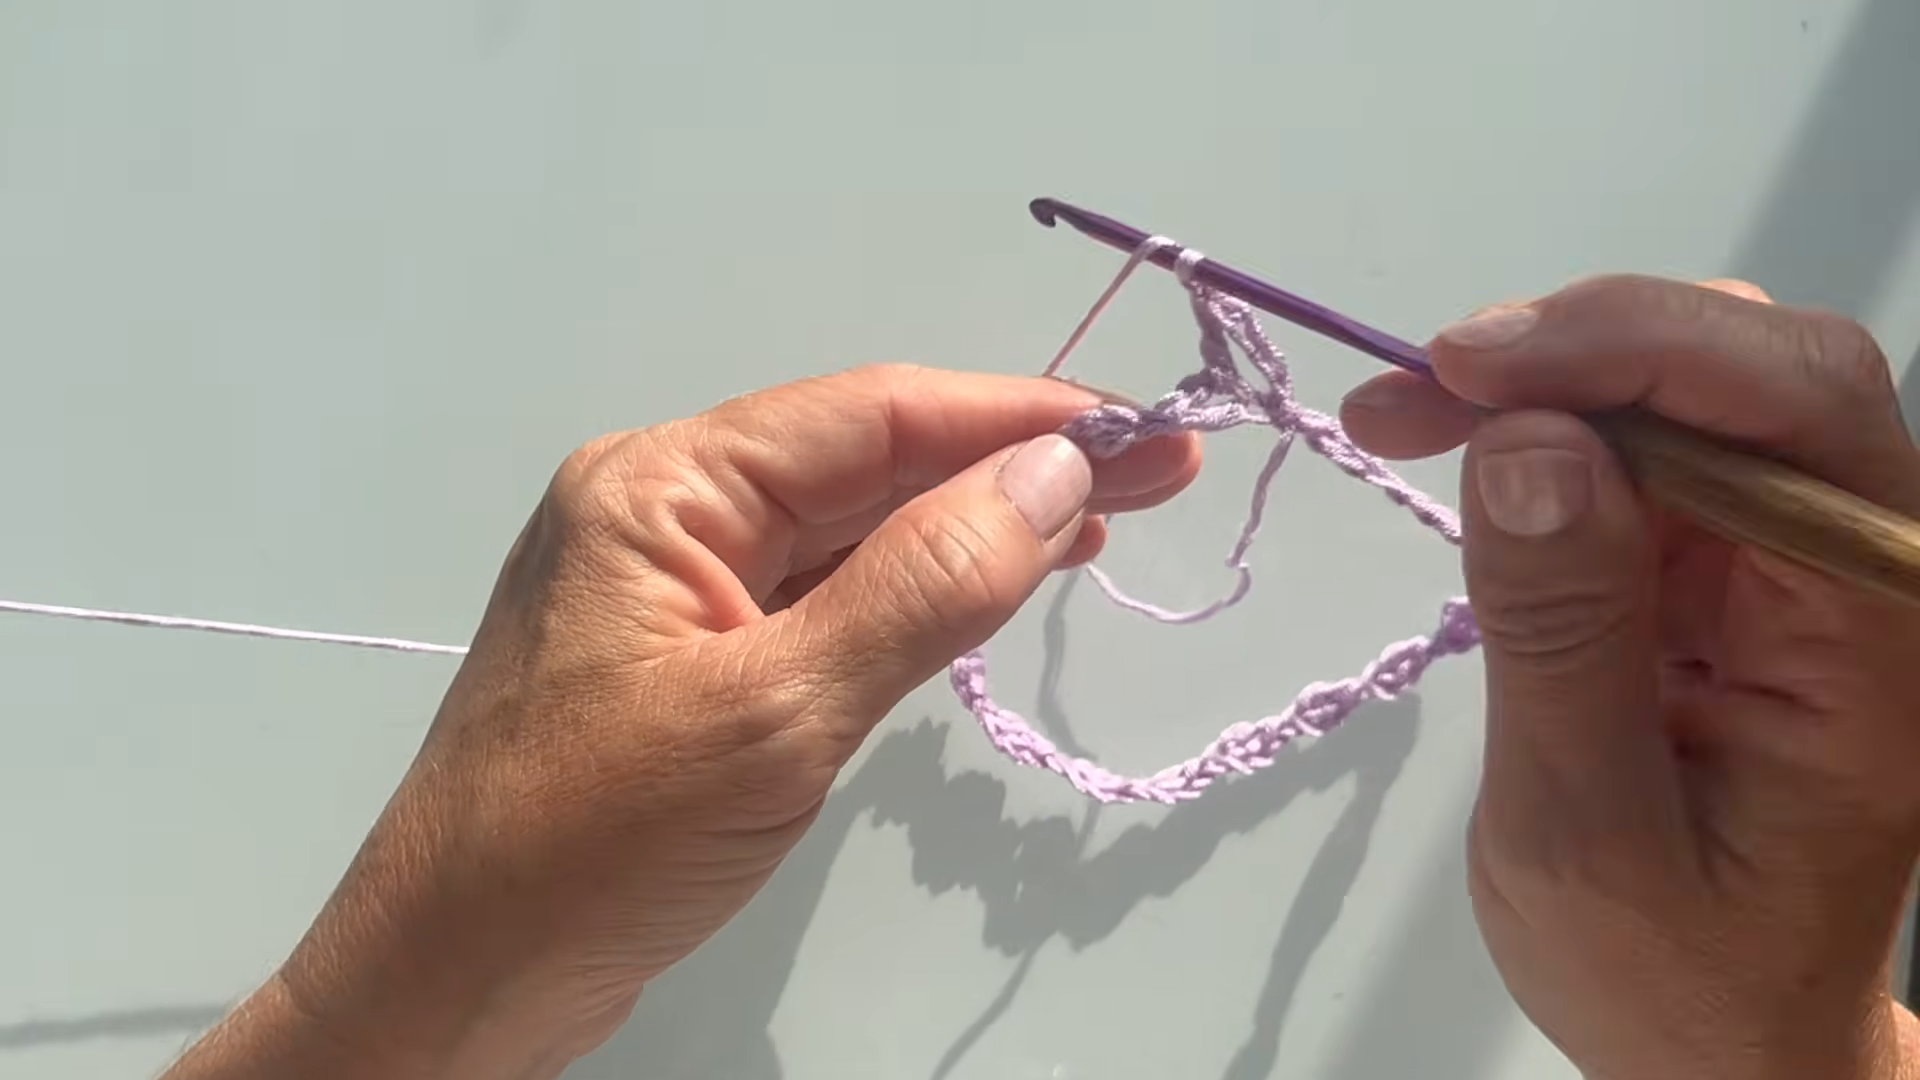
Rows 2–8: Build the Mesh
Rows 2–3: Ch 4 (this counts as a dc plus a ch-1 space) and turn. Then skip the first dc and the first ch-1 space, and dc in the next dc. *Ch 1, skip the next ch-1 space, dc in the next dc;* repeat from * across. Work the last dc into the third chain of the previous row’s starting chain. After two rows, you’ll see a neat grid of holes and straight edges.

Next, repeat the row 2 instructions until you have 8 mesh rows in total. Keep counting your double crochets after each row, because every row should match row 1. If you want a deeper or shallower band, simply add or remove rows.

Fan Edge: Shape the Scallops
Ch 1 and turn. Then sc in the first dc. *Skip the next ch-1 space, work 5 dc in the next dc, skip the next ch-1 space, sc in the next dc;* repeat from * across, and end with a sc in the last stitch. As a result, the mesh body is topped by a row that alternates fans and single crochets.

Each fan is 5 double crochets worked into the same stitch. To keep every fan even, make all five stitches the same height, so it opens like a shell with a small opening at the center. Meanwhile, the single crochets between the fans anchor them and keep the scallop line crisp.
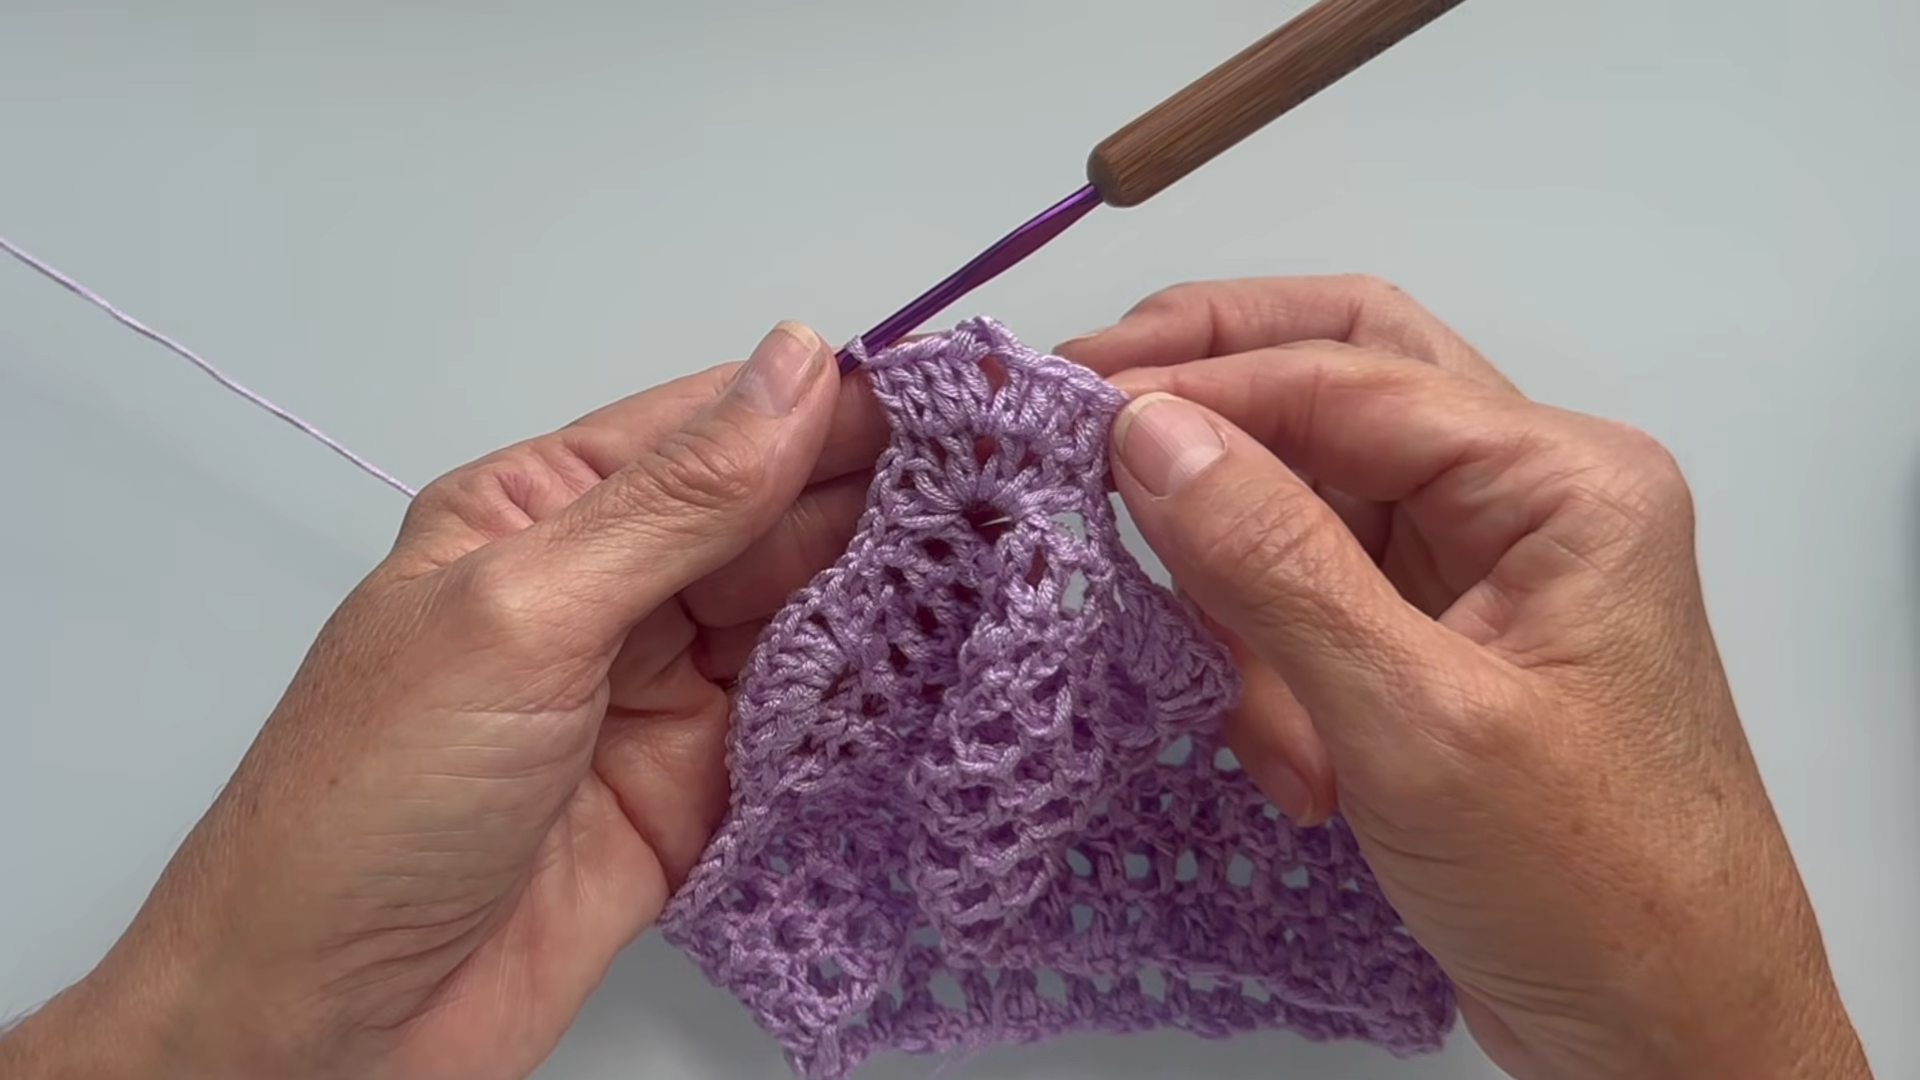
Finish the Band
Finally, cut the yarn, pull the tail through the last loop, and weave in all ends. Then lay the band flat. The mesh should be even, and the fans should sit at the same spacing along the top.

Pro tip: Pin the finished band to the hem before you sew. Then center a fan over a seam or the front crease, so the scallops look intentional from every side.
Sizing, Fit, and Stitch Checks
Sizing and Fit for Your Crochet Harbor Window Cuff Trim for Jeans
To check the fit, place the finished band around the hem with the ends meeting. If the band is too short, add 4 chains at a time to the foundation on your next attempt. Likewise, if it is too long, remove them in the same way. Since keeping the multiple of 4, plus 3, preserves the fan spacing, always change the chain in sets of 4.
Stitch Count Checkpoints
- Row 1: the number of double crochets should be odd.
- Rows 2–8: the same number of double crochets as row 1.
- Edge row: the number of fans equals the number of double crochets minus 1, divided by 2.
Also, place a marker in the first and last stitch of each row. If a row looks narrow, you probably skipped the last stitch. On the other hand, if it flares, you probably added an extra one.
Common Mistakes and Quick Fixes
A few small slips cause most problems. For example, a twisted foundation chain carries into every row. Likewise, missing the last stitch of a row pulls one side inward, while a tight turning chain puckers the edge. In addition, uneven fan stitches give lopsided scallops, and skipping the fan row’s single crochets shifts the spacing.
Fortunately, each problem has a simple fix. If the edges curl in, loosen your tension or use a larger hook. When the mesh holes look uneven, pin the piece flat, mist it, and let it dry. If the fans lean to one side, check that each fan starts in the correct stitch. Finally, if the band is too short, start again with a longer chain in the 4n + 3 pattern.
Customizing Your Crochet Harbor Window Cuff Trim for Jeans
Size Modification
To lengthen the band, add chains in sets of 4. To make it deeper, work more mesh rows before the fan edge. Meanwhile, for a thicker look, use a slightly heavier yarn and a larger hook. Keep in mind that the band will then grow in both directions.
Color Variations and Personalization
Lilac stands out against dark denim. In comparison, white or cream gives a vintage feel, soft blue blends in, and a dark thread such as navy reads as texture. Also, a variegated thread can make the fans look beaded.
For a personal touch, add a tiny bead at the center of each fan. Alternatively, sew two bands on one leg for a layered look. Finally, matching trim at a pocket edge ties the details together.
Sewing the Crochet Harbor Window Cuff Trim for Jeans onto Denim
Assembly
First, pin the band along the hem so the fans sit just above or on the edge. Because denim is much heavier than fine cotton lace, the sewing matters as much as the crochet. Therefore, use a sharp needle and thread that matches your yarn. Start with a few backstitches, then work small, even stitches along the base of the mesh. Keep the stitches loose enough that the denim does not pucker, and leave the fans free so they stay lacy.
Finishing and Care
Before sewing, weave in all ends. Then dampen the band, pin it flat, and let it dry. Sew it on only after it is dry, so the stitches do not pucker. Later, when you wash the jeans, turn them inside out and use a gentle cycle. Air dry if possible. If the fiber allows it, press with a cloth between the iron and the lace.
FAQs About the Crochet Harbor Window Cuff Trim for Jeans
Can I wash jeans with this trim? Yes. However, wash gently, inside out, and choose a colorfast yarn.
What yarn works best? Smooth, lightweight cotton shows the stitches best.
How do I change the length? Simply add or remove chains in sets of 4.
Can I use it on other items? Yes. In fact, it works on sleeves, skirts, tote bags, and curtains.
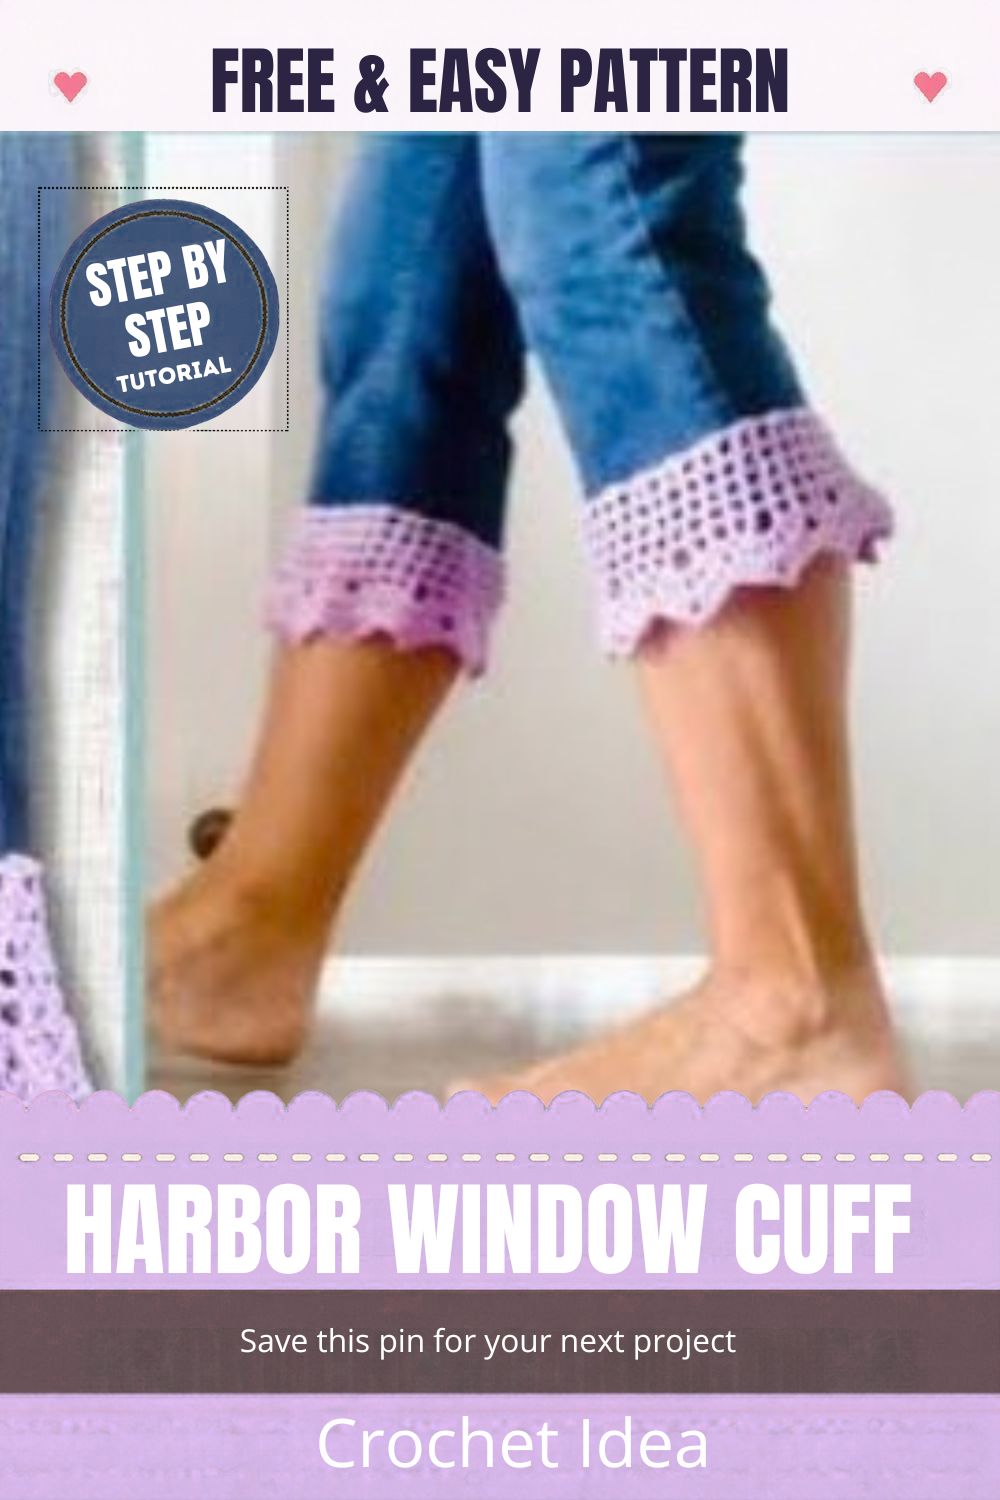
Final Thoughts on the Crochet Harbor Window Cuff Trim for Jeans
Now you have everything you need to make the Crochet Harbor Window Cuff Trim for Jeans. Because it uses only basic stitches, it’s a relaxing afternoon project, and it gives old denim a fresh, lacy look. If you enjoy small wearable projects, you might also like our crochet fanny pack crossbody bag with flowers. Also, if double crochet is still new to you, this double crochet tutorial will help. To learn more about the craft itself, this crochet overview on Wikipedia is a good place to start.